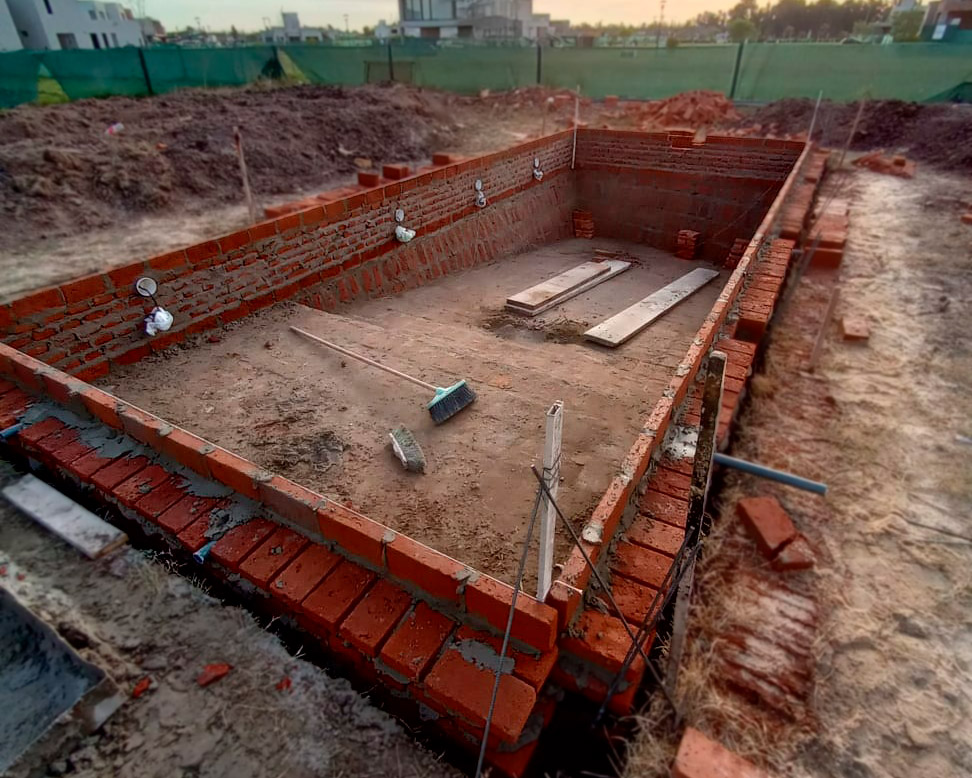
When pool render shows flaking, cracking, or loose areas, it is essential to properly repair the surface before waterproofing and painting.
This step-by-step guide restores the structure and prevents future leaks.
Restore damaged render, ensure adhesion of new materials, and achieve a durable, waterproof system through structural repair, comprehensive waterproofing, and final painting.
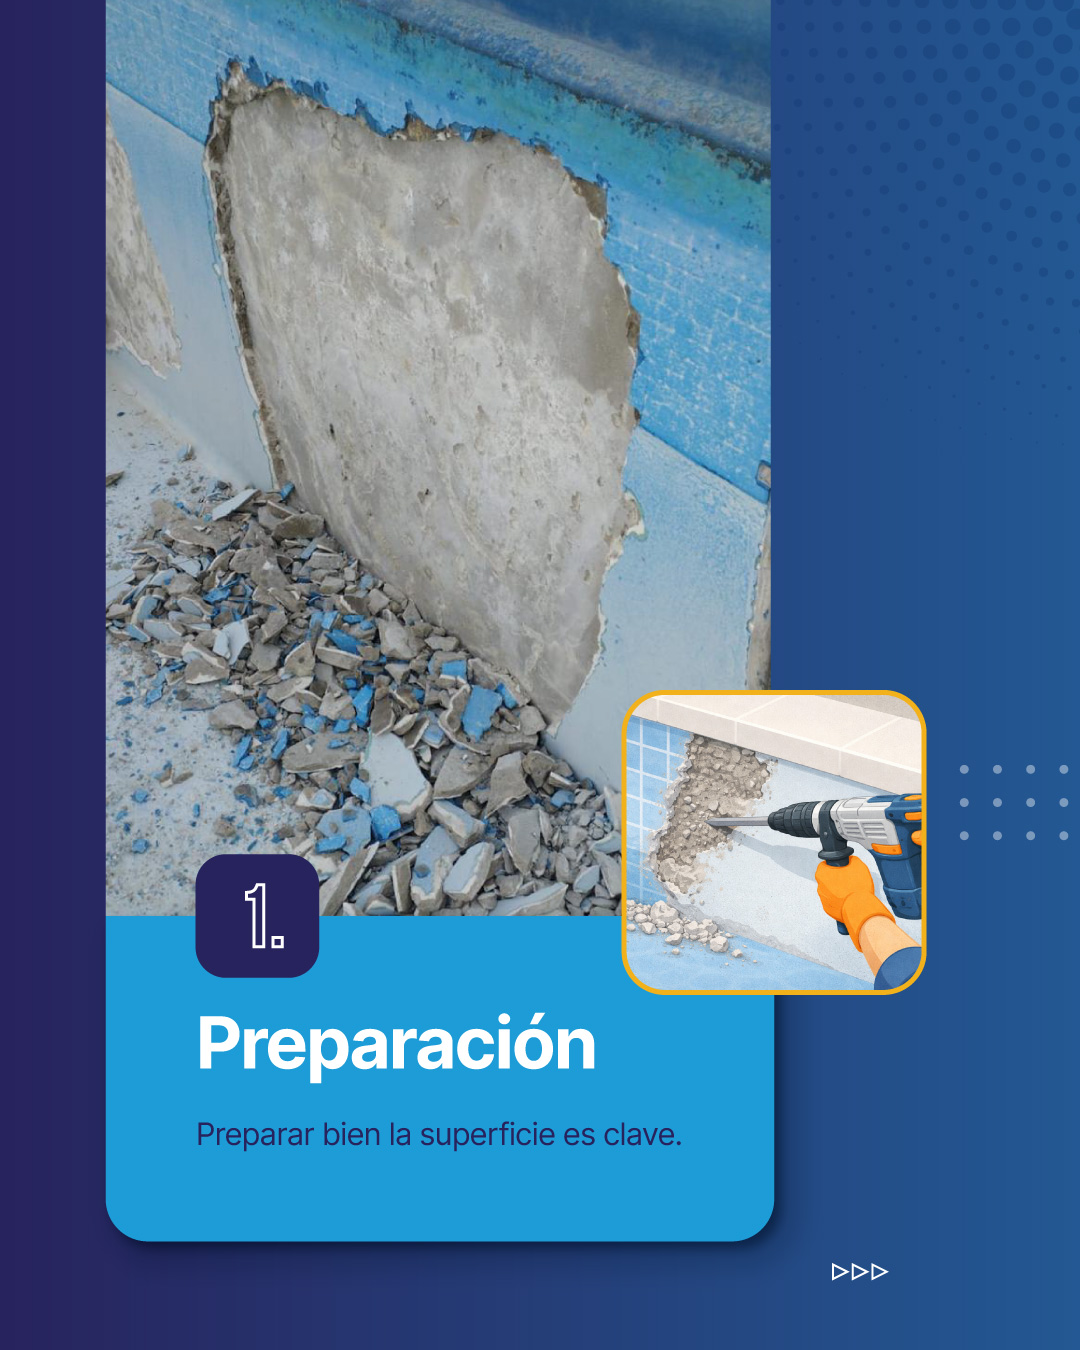
1. Surface preparation
Chop back and level damaged areas. Remove dust.
Dampen the substrate until achieving a saturated surface with no standing water or sheen.
2. Treatment of exposed rebar (if present)
When rebar is visible, it must be protected before proceeding.
Perform mechanical cleaning of the steel.
Coat the bars with LEGATOP P22 for anti-corrosion protection.
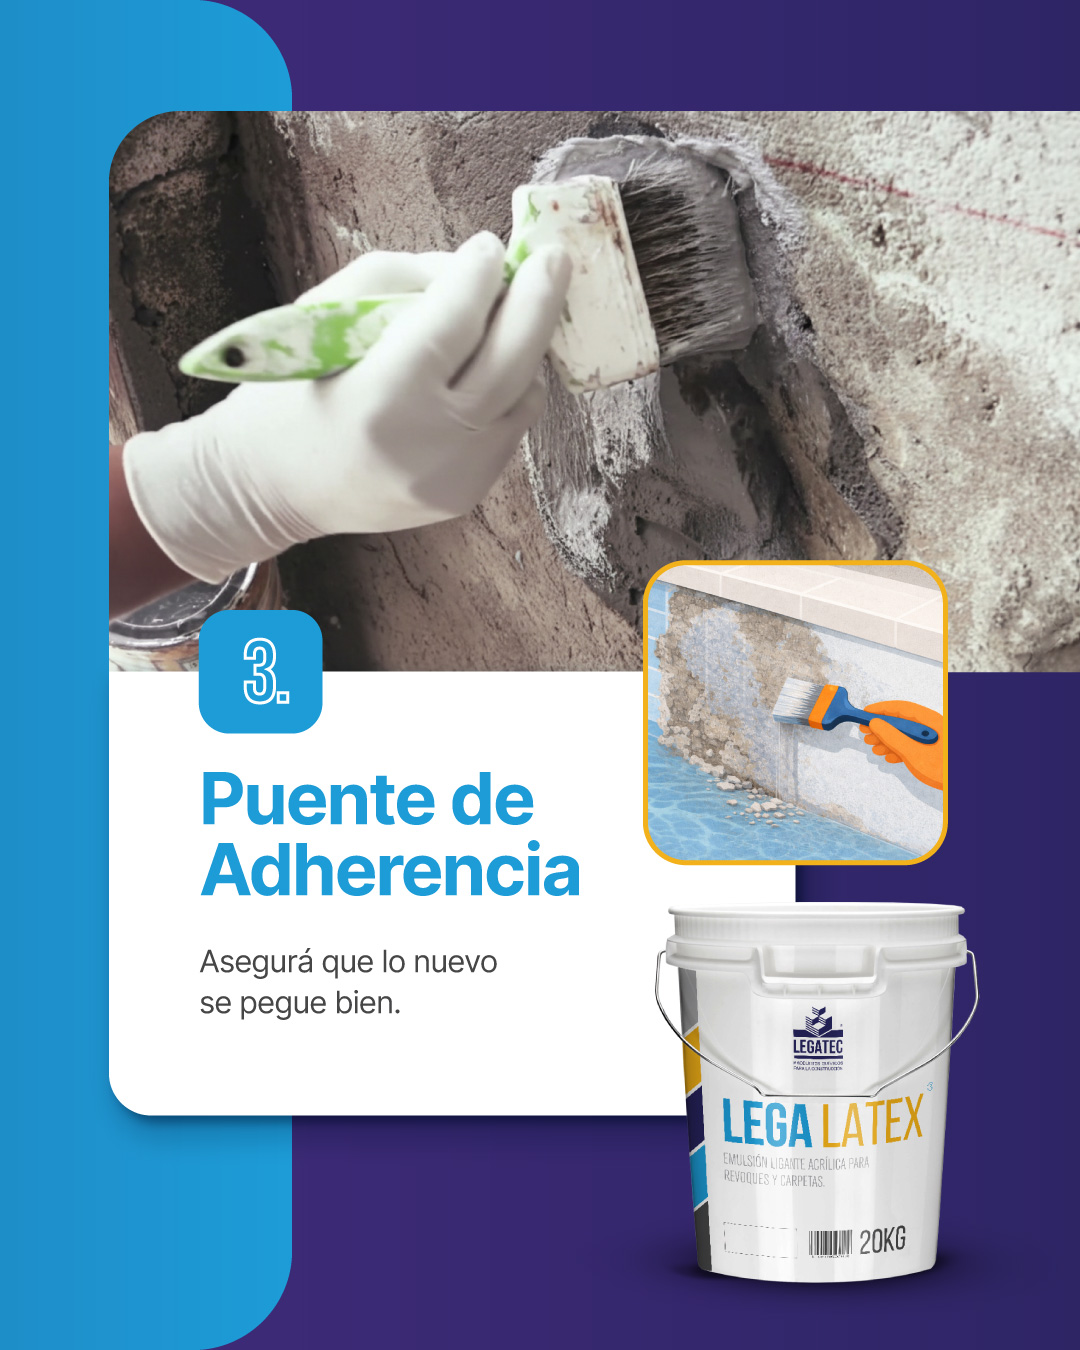
3. Bonding agent
Prepare the surface to ensure proper bonding between the substrate and repair material.
Apply LEGALATEX with a paintbrush over the entire repair area.
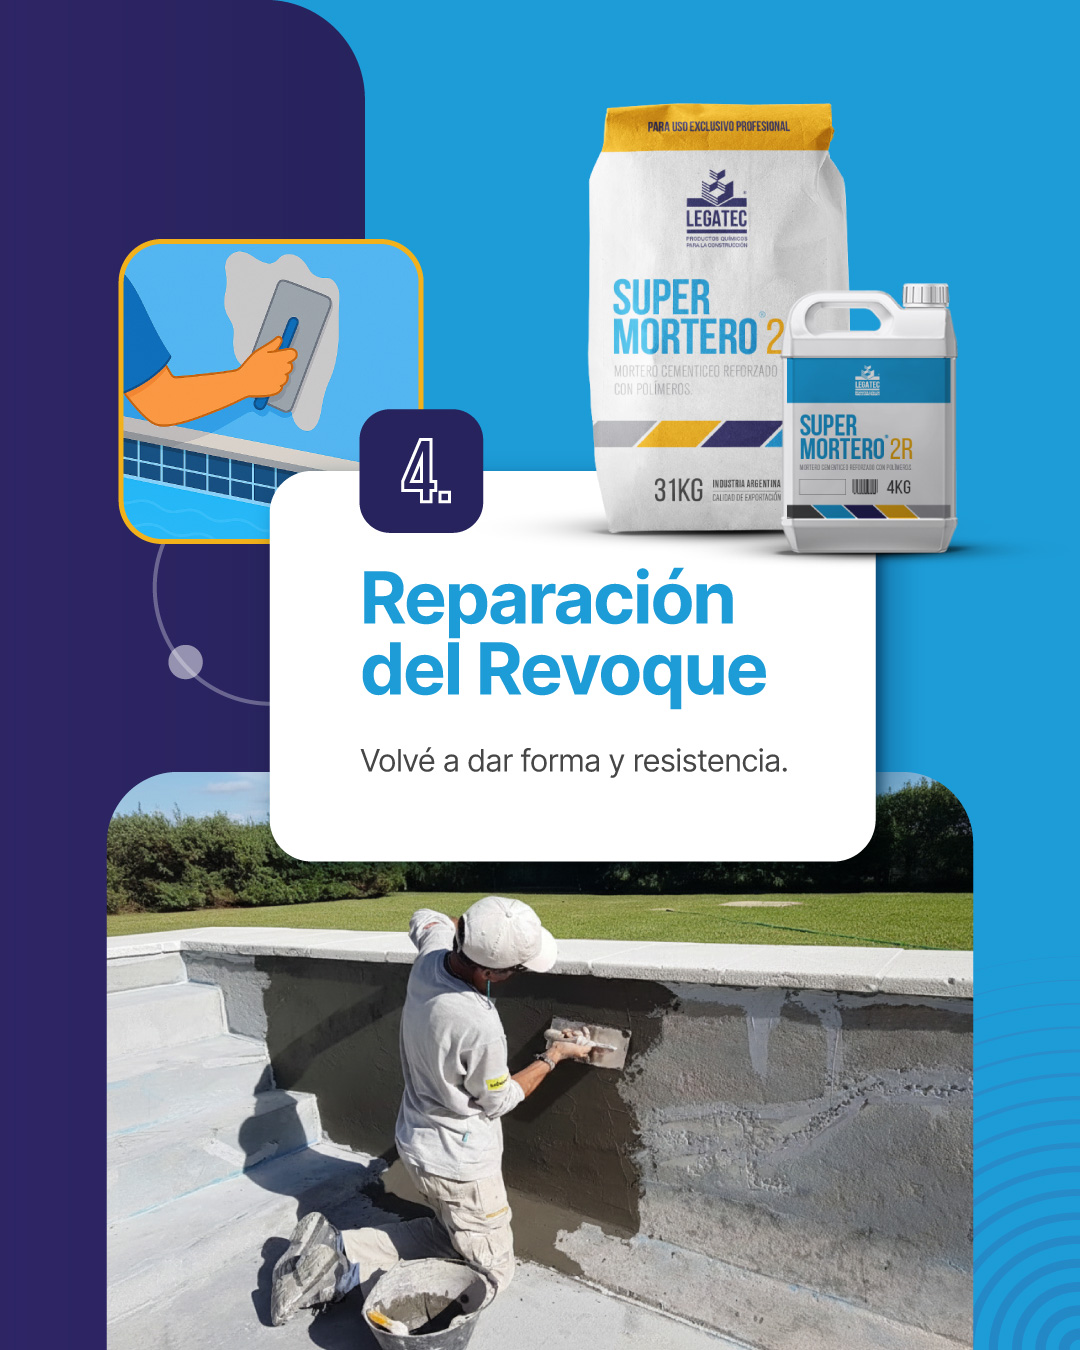
4. Infilling and shaping the render
Rebuild the original volume and geometry of the pool.
Use SUPERMORTERO according to application position:
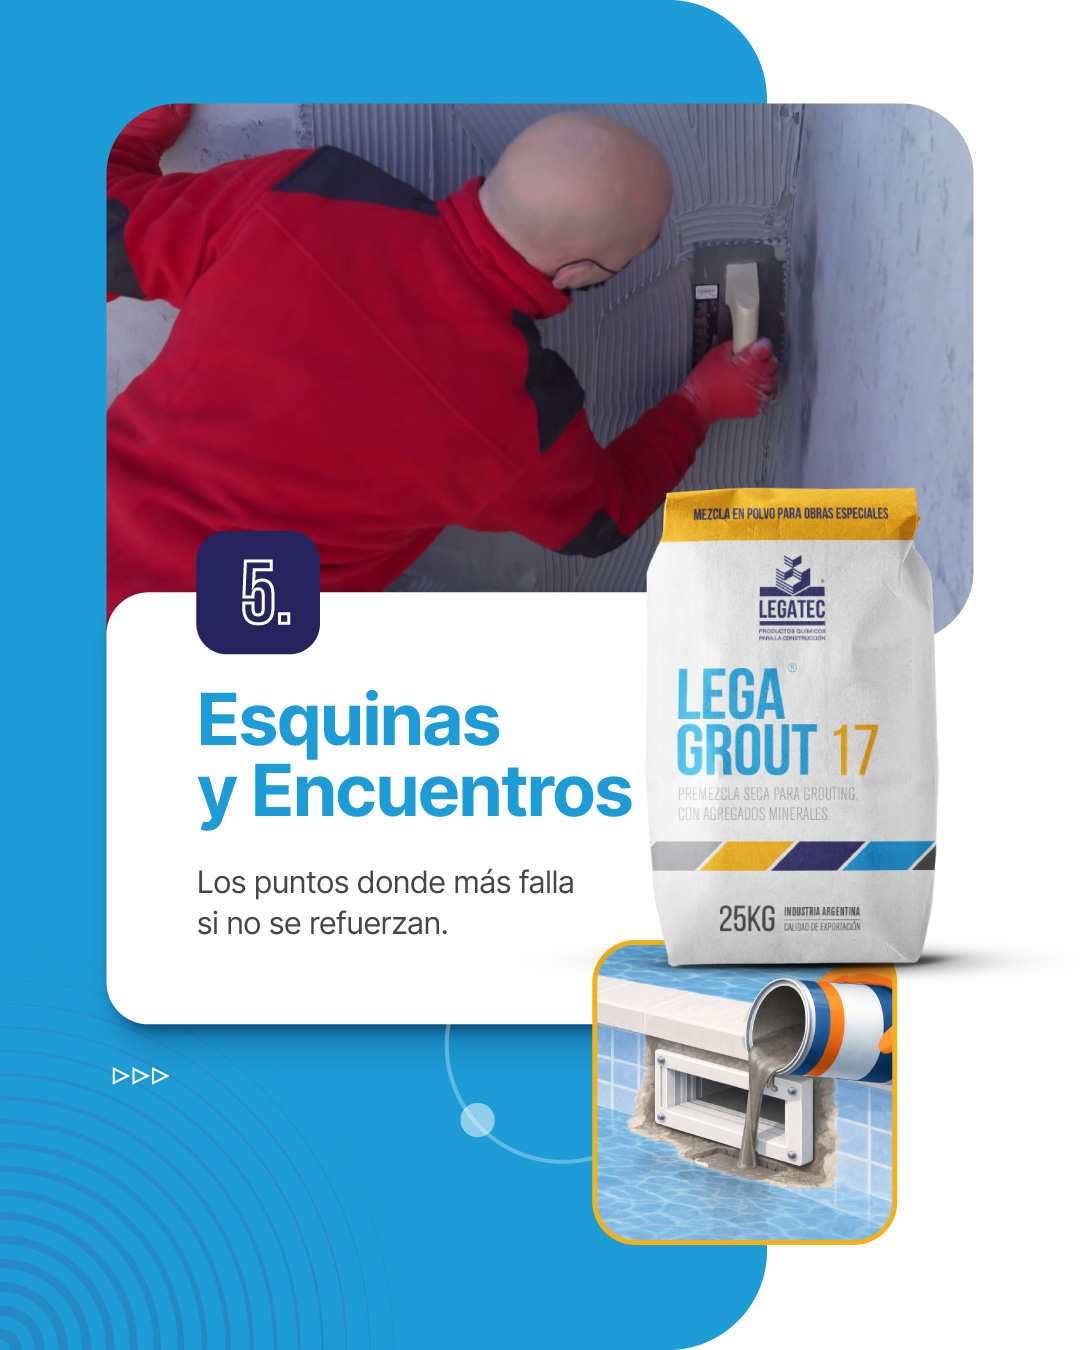
5. Internal corners and joints
Formwork, mix with water, and pour into corners or joint intersections.
Apply LEGAGROUT 17.
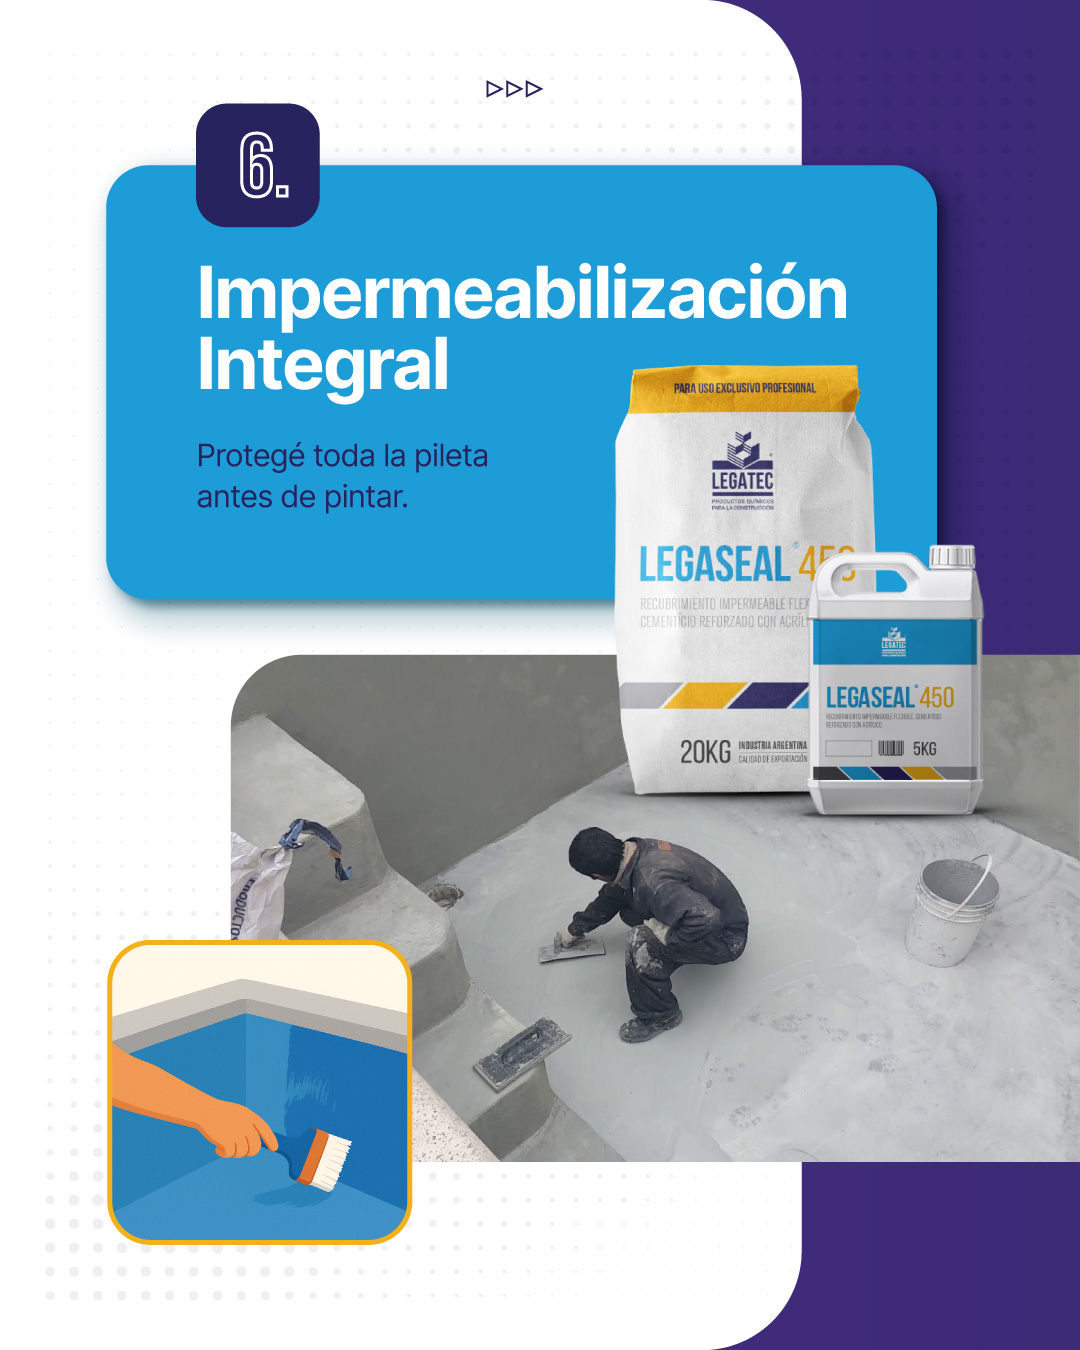
6. Comprehensive waterproofing
Protect the entire repaired surface to prevent leaks.
Apply LEGASEAL 450 overall.
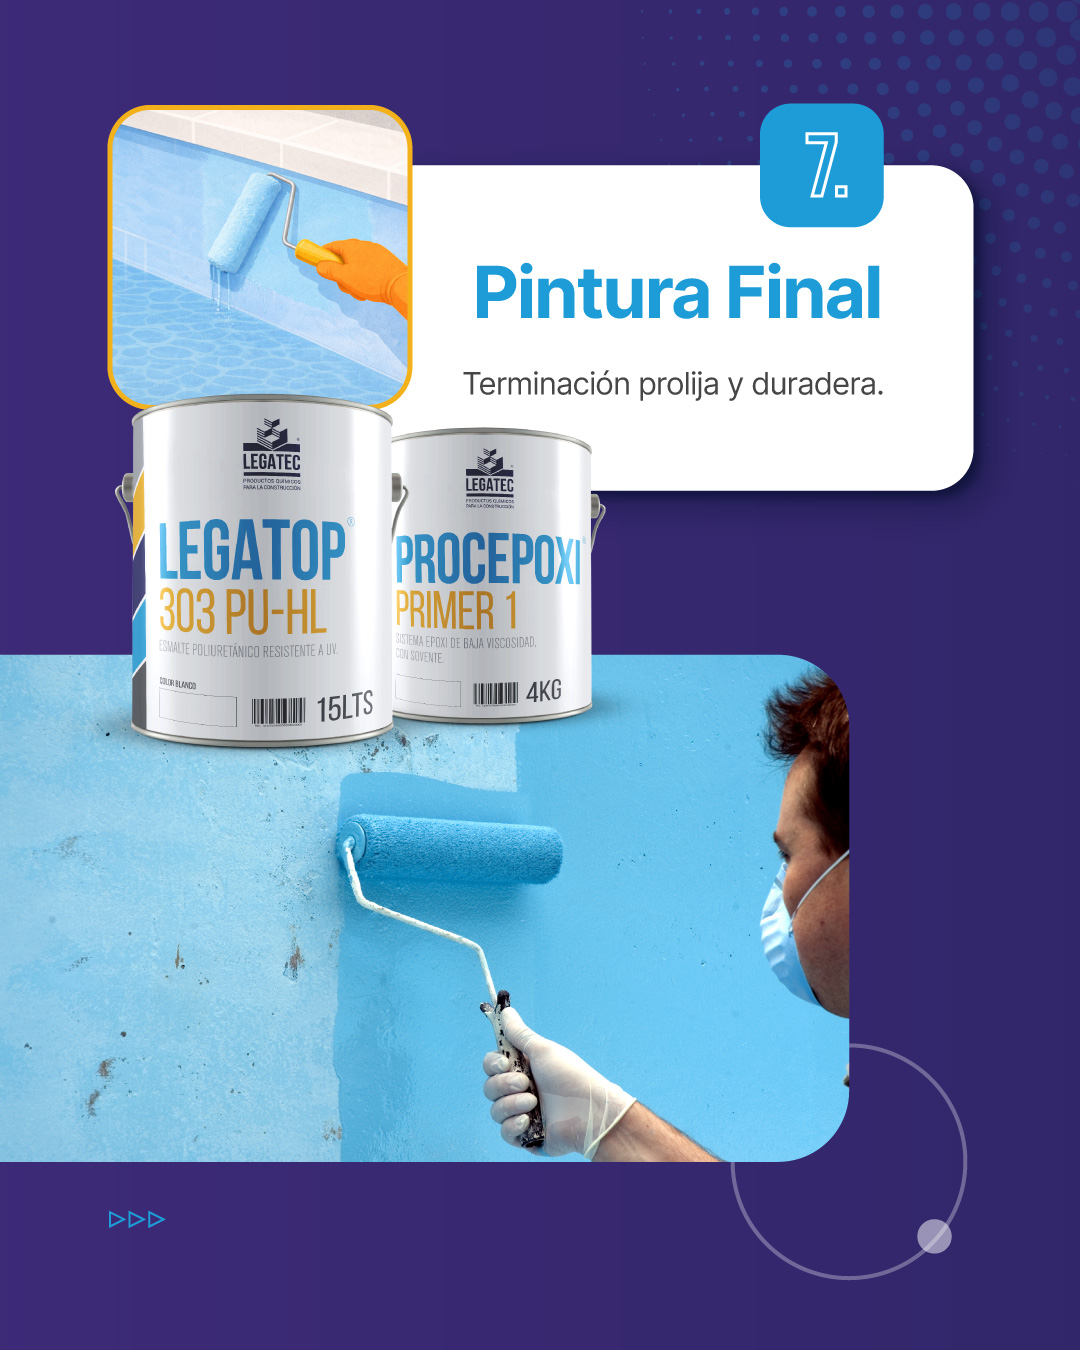
7. Final painting
Complete the repair with the final coating of the pool.
Products used
When a pool experiences water loss through wall penetrations, light fixtures, expansion joints, or cracks, prompt intervention is critical to stop water inflow or outflow prior to waterproofing and painting.
Eliminate localized leaks and cracks to ensure durability and safety during pool use.
1. Wall penetrations, light fixtures, and joints
Identify and prepare areas prone to localized leaks.
Seal completely using LEGALASTIC SP1/NP1, ensuring proper filling of the joint perimeter.
2. Inward water seepage (water table ingress or localized pores)
When water enters from outside the structure, it must be stopped immediately.
Apply LEGASEAL 403 as a waterplug mortar, firming the material into place until water ingress stops.
3. Crack treatment
Cracks must be properly prepared to achieve a long-lasting seal.
Open the crack into a “V” shape using an angle grinder.
Fill with LEGALASTIC SP1/NP1 and observe the specified curing time before continuing.
4. System closure – Comprehensive waterproofing
Once localized leaks are resolved, protect the entire surface.
Apply LEGASEAL 450 overall to walls and floor to ensure total watertightness.
5. Final painting
Complete the system with the final coating of the pool.